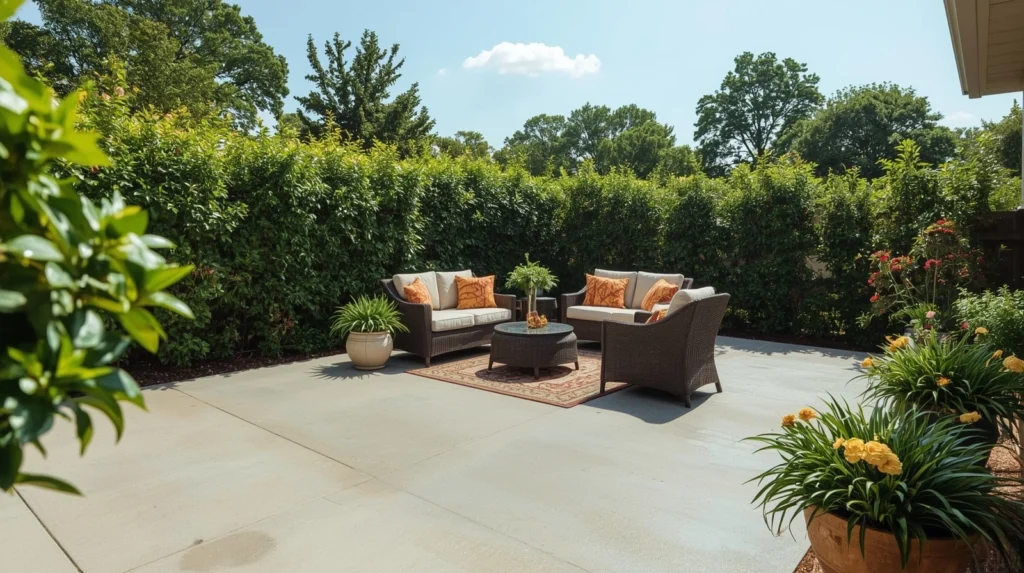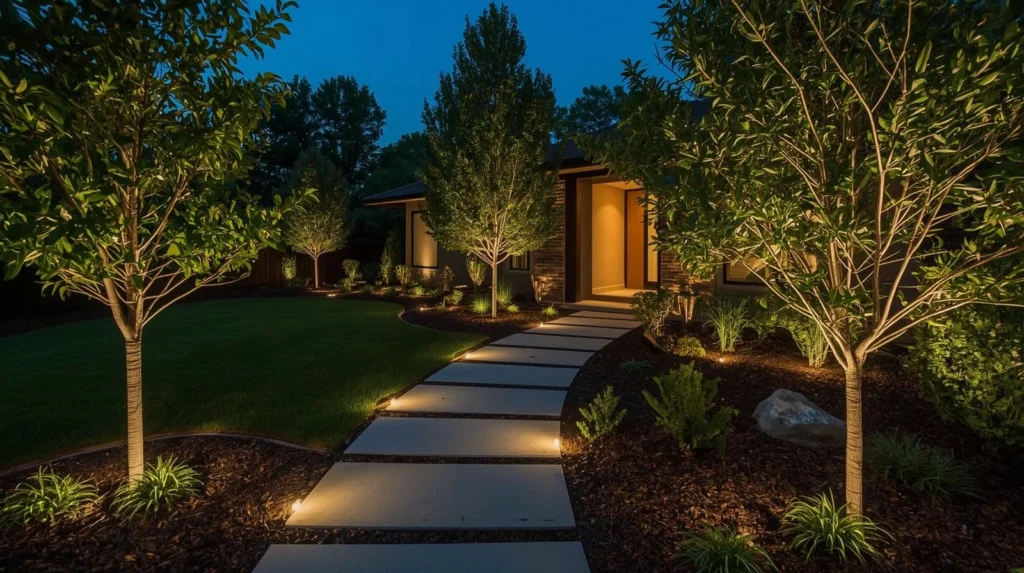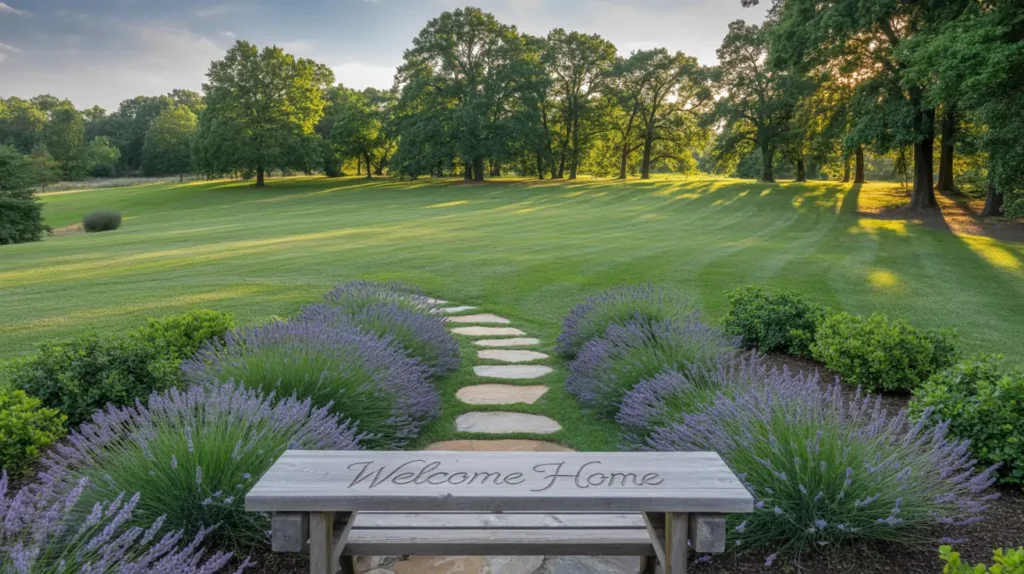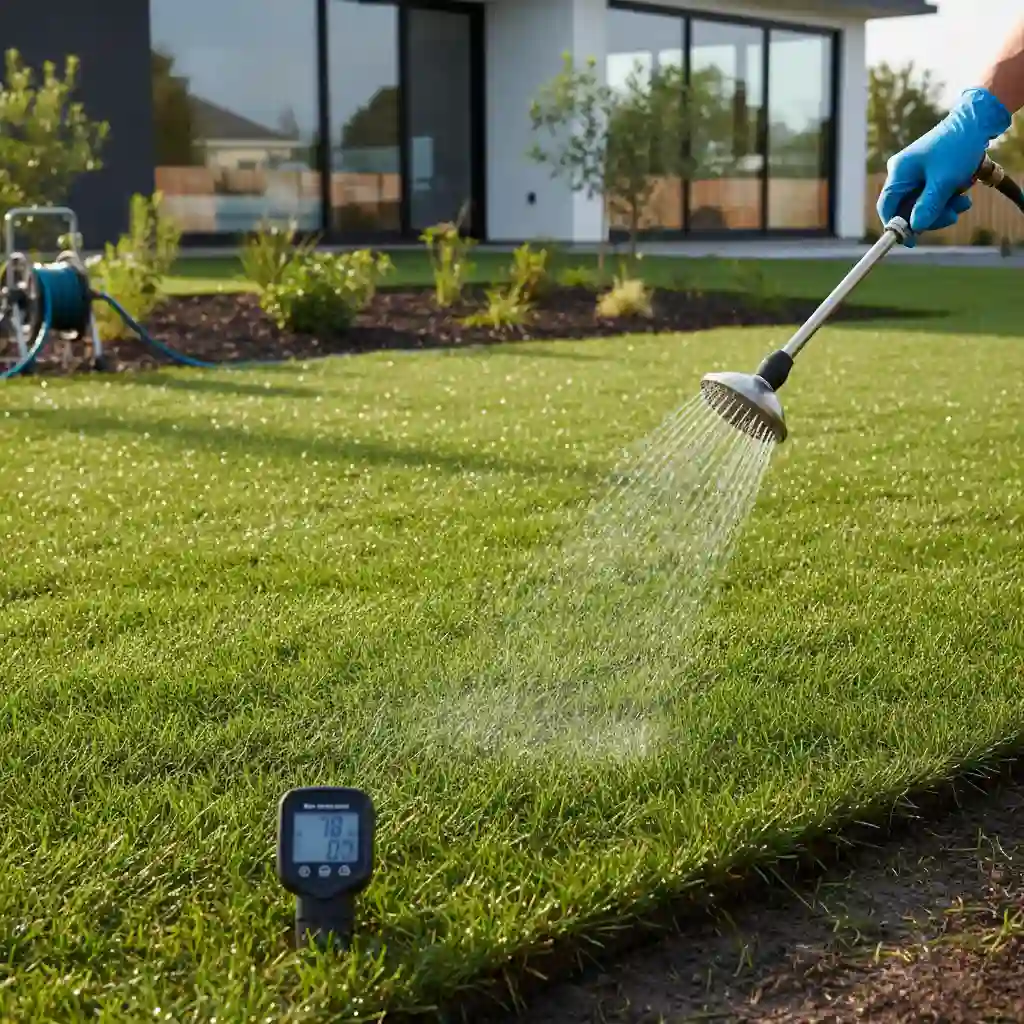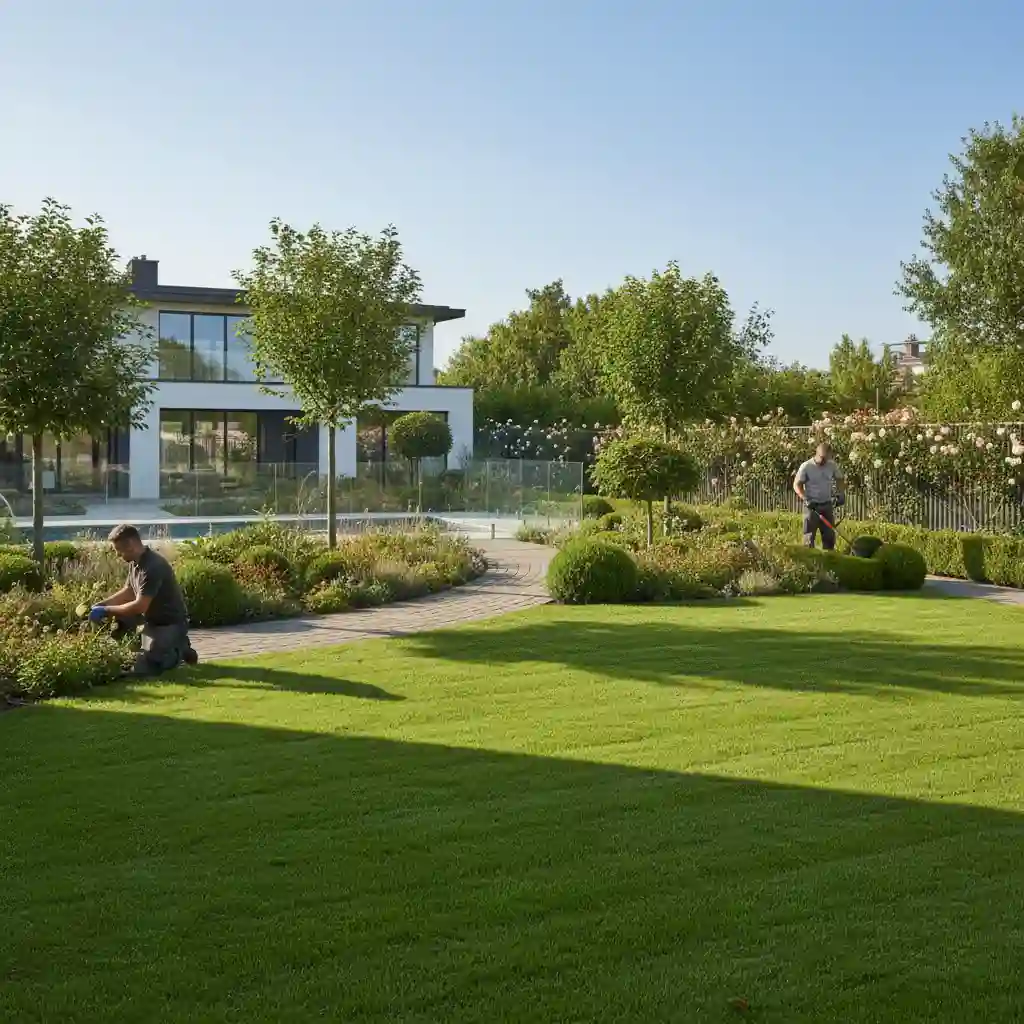
What Is Landscape Maintenance?
Your lawn is the first thing people see. And if it looks neglected, it reflects poorly on the entire property. But here’s the truth: most people have no idea how much work goes into a beautiful outdoor space, or what landscape maintenance actually covers. You’re not alone if you’ve been wondering what is landscape maintenance and whether it’s worth the cost. In this article, we’ll walk through everything from what landscape maintenance includes day-to-day, to the real-world landscape maintenance cost you should budget for. By the end, you’ll have a clear picture of what services your property needs and how to get the best results for your money. Understanding Landscape Maintenance Taking care of your outdoor spaces on a regular basis is called landscape maintenance. This includes mowing the lawn, trimming it, fertilising it, pruning it, managing the irrigation, controlling pests, and cleaning up after the seasons. Regular, planned work is what keeps a property looking good, tidy, and well-managed all year round. You can think of it as taking care of your car. You don’t merely fix your car when it breaks down. You get regular check-ups, oil changes and tyre rotations. The same goes for maintaining a landscape. What is the main idea of landscape maintenance? It’s a system. A list of things to do that keep small problems from turning into big ones. Even the best-planned garden will develop into a jumble of weeds in just a few seasons without it. What’s the Difference Between Landscaping and Lawn Maintenance? Landscaping refers to the design and installation of outdoor features, such as planting trees, building retaining walls, or creating garden beds. Lawn maintenance, on the other hand, is the routine upkeep of those existing features. In short, landscaping is what you build; lawn maintenance is how you preserve it. A lot of people use these terms interchangeably, but they’re quite different in scope and cost. Landscaping is typically a one-time or project-based investment. Maintenance is recurring. For example, installing a new irrigation system is landscaping. Checking and adjusting that system every spring is maintenance. Both matter, but they serve different purposes. What Does Landscape Maintenance Include? Landscape maintenance includes mowing, edging, fertilization, weed control, pruning, mulching, pest and disease management, irrigation system checks, leaf removal, and seasonal planting. The exact services depend on the property type, size, and the maintenance plan you choose. Here’s a breakdown of the most common services included in a standard residential landscape maintenance services package: Lawn mowing and edging: Typically done weekly or bi-weekly during the growing season Trimming and pruning: Keeping shrubs, hedges, and trees shaped and healthy Fertilization programs: Seasonal treatments to feed grass and plants Weed control: Pre-emergent and post-emergent applications to suppress weeds Mulching: Replenishing mulch in beds to retain moisture and prevent weeds Irrigation management: Adjusting and maintaining sprinkler and drip systems Seasonal cleanups: Spring and fall removal of leaves, debris, and dead plant material Pest and disease control: Treating infestations before they spread Aeration and overseeding: Improving soil health and lawn density What Are the Benefits of Landscape Maintenance? Regular landscape maintenance improves curb appeal, increases property value, prevents costly repairs, supports plant health, and creates a safer, more enjoyable outdoor space. Consistent upkeep is always more cost-effective than neglect followed by restoration. Here’s why property owners who invest in routine maintenance come out ahead: 1. Higher Property Value Studies from the American Society of Landscape Architects show that well-maintained landscaping can add up to 15% to a home’s value. That’s a significant return on a relatively modest investment. 2. Lower Long-Term Costs Catching problems early, whether it’s a dying tree, a broken irrigation line, or spreading weeds, is far cheaper than addressing them after the damage is done. The average cost of landscaping maintenance is a fraction of what restoration typically runs. 3. Better Curb Appeal First impressions matter, especially if you’re planning to sell or rent your property. A clean, maintained yard signals that the entire property is well cared for. 4. Healthier Plants and Lawn Lawns and plants thrive under consistent care. Proper fertilization, watering, and pruning lead to stronger root systems, thicker turf, and more vibrant plant growth. 5. Fewer Pest and Weed Problems Regular maintenance disrupts the conditions that pests and weeds need to establish themselves. Prevention is always easier than treatment. How Often Do You Need Landscape Maintenance? Most residential properties need landscape maintenance every one to two weeks during the growing season (spring through fall), and monthly or as needed during winter. The frequency depends on your climate, grass type, plant density, and the level of appearance you want to maintain. Here’s a general frequency guide: Weekly: Mowing during peak growth, especially in warm, wet months Bi-weekly: Edging, blowing, minor trimming Monthly: Fertilization, weed treatment, irrigation check Seasonally: Pruning, mulching, aeration, overseeding, cleanup Annually: Deep root fertilization, soil testing, large pruning jobs Most landscape companies offer service packages that bundle these into a monthly plan. That’s often the most cost-effective route for homeowners who want consistent results without managing it themselves. How Much Does Landscape Maintenance Cost? On average, residential landscape maintenance costs between $100 and $350 per month for standard services. The monthly landscape maintenance cost varies based on property size, service frequency, regional labor rates, and the specific services included in your plan. If you’re asking how much does landscaping cost for a full-service maintenance plan, here’s a realistic breakdown: Service Average Cost Frequency Lawn mowing $30–$80 per visit Weekly / Bi-weekly Edging and blowing Included in mow Per visit Fertilization $50–$150 per treatment Seasonal Weed control $50–$100 per application Monthly Pruning and trimming $75–$200 per session Monthly / Seasonal Mulching $100–$300 per bed refresh Annually / Seasonally Full monthly plan $100–$350/month Monthly Keep in mind that how much landscaping cost also depends on your region. Labor costs in California or New York tend to run higher than in the Midwest or Southeast.