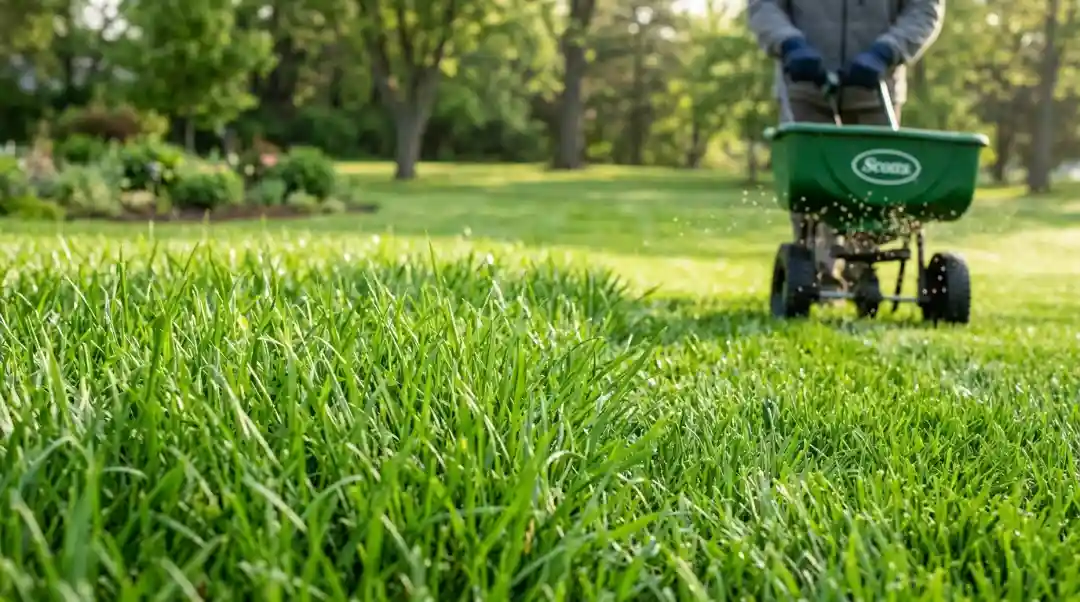
Getting a thick, healthy lawn from bare soil sounds simple until you try it. Hand seeding is slow, sod is expensive, and neither method gives you full control over your grass varieties. That’s the frustration most homeowners and property managers hit before they start asking the right question.
What is hydroseeding? It’s a lawn installation method where a liquid mixture of seed, mulch, fertilizer, and water called a slurry is sprayed evenly across soil using high-pressure equipment. It’s faster than hand seeding, more affordable than sod, and produces a healthy root system that lasts. In this guide, we’ll walk through how it works, what it costs, the best time to do it, and whether it’s the right choice for your lawn.
How Does Hydroseeding Work?
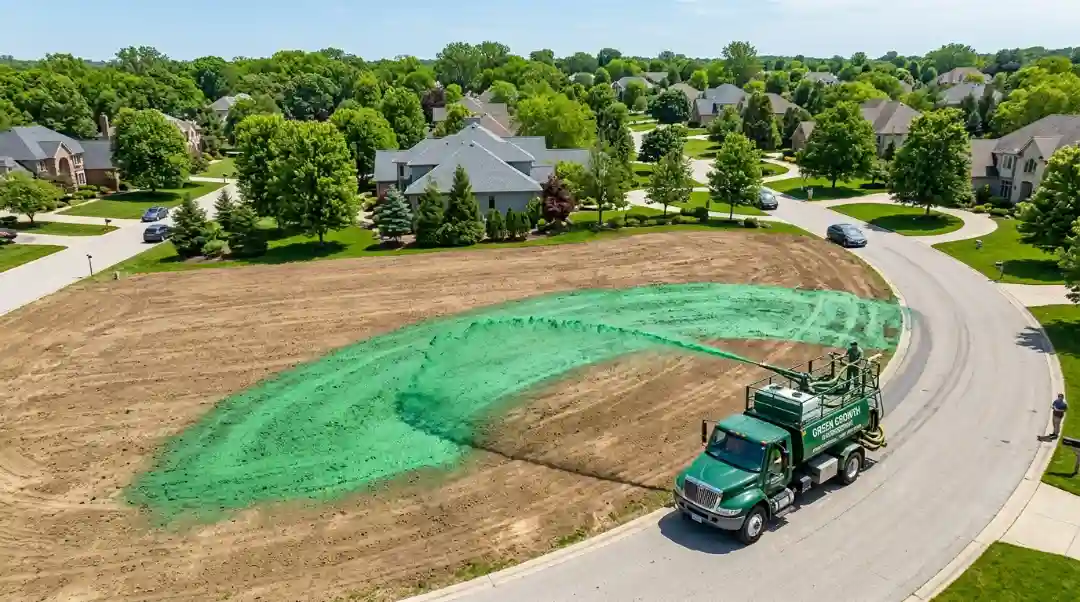
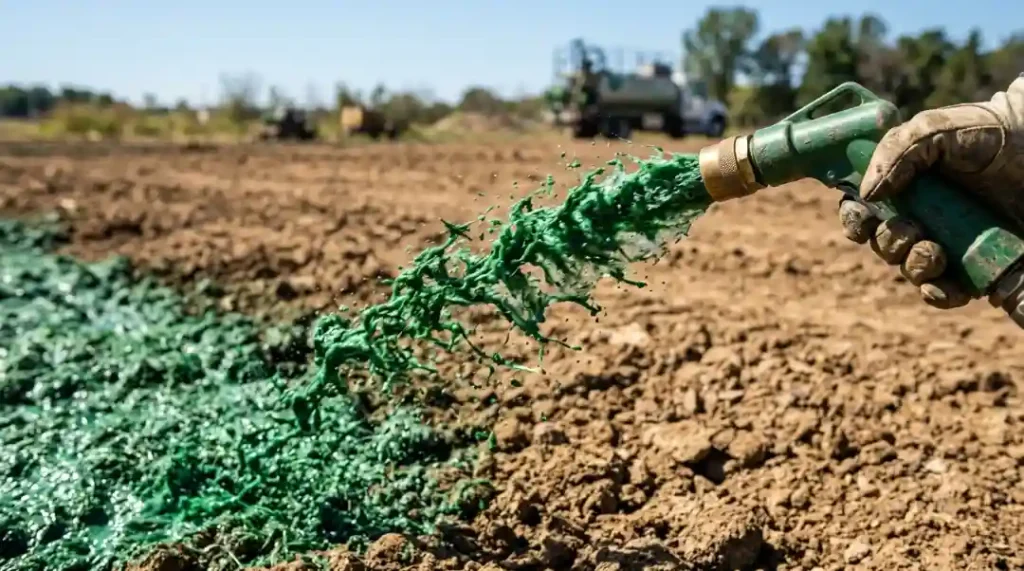
Hydroseeding works by combining grass seed, wood fiber or paper mulch, fertilizer, water, and sometimes a green dye into a large tank called a hydroseeder. This slurry is then sprayed across prepared soil using hydraulic pressure, creating a uniform, protective layer that holds seeds in place and encourages fast germination.
The slurry is kept constantly mixed inside the tank either through mechanical paddle agitation or jet agitation so every component stays evenly distributed. Once sprayed, the mulch forms a protective blanket over the seed. It keeps moisture in, blocks wind, and helps seeds bond to the soil.
Most hydroseeded lawns begin sprouting within 1 to 2 weeks under good conditions.
The Hydroseeding Process: Step by Step

Understanding the hydroseeding process helps you set realistic expectations before the first truck arrives.
Step 1 Soil Testing
Before anything goes in the ground, test your soil’s pH. Most grass varieties prefer a pH between 5.8 and 7.2. Warm-season grasses tolerate slightly lower pH, and cool-season grasses do better slightly higher. Skipping this step is one of the most common reasons hydroseeded lawns fail.
Step 2 Soil Preparation
The soil needs to be smooth, de-compacted, and loose to at least 3 inches deep. This gives roots somewhere to grow without fighting hard, compacted ground.
Step 3 Slurry Mixing
Seed, mulch, fertilizer, water, and sometimes soil amendments are loaded into the hydroseeder tank. Mechanical agitation mixes everything thoroughly; this matters more than people think. A poorly mixed slurry means uneven coverage and patchy results.
Step 4 Application
The slurry is sprayed using either a boom (for large areas) or a hose system (for precise, smaller spots). The green dye in the mixture acts as a visual guide so the operator knows which areas have been covered and at what density.
Step 5 Aftercare
Once the slurry is applied, consistent watering is critical. For the first few weeks, the lawn may need watering two to three times per day depending on temperature and sun exposure. The goal is to keep the surface moist without washing the slurry away.
When Is the Best Time for Hydroseeding?
The best time for hydroseeding is early spring or early fall. Both seasons offer cooler temperatures and moderate rainfall ideal conditions for seed germination. Hydroseeding in extreme heat or during dry spells puts the new lawn under unnecessary stress right from the start.
Spring Hydroseeding
Early spring works well because natural rainfall handles a lot of the watering for you. The cooler temperatures reduce evaporation, so seeds stay moist longer. The downside is that if a hot summer follows, the new lawn will need extra watering during its first year to survive the heat.
Fall Hydroseeding
Fall is widely considered the better of the two options. Seeding in early fall gives the lawn time to establish before winter. Then it goes dormant, and when spring arrives, it gets a strong second push of growth before any summer stress.
What About Summer?
Avoid it if at all possible. High temperatures and dry conditions mean constant watering, higher costs, and a much lower success rate. Unless you have an inexpensive, abundant water source, summer hydroseeding is a tough fight.
Different Types of Hydroseeding
Not all hydroseeding projects use the same slurry. The type of mulch you use significantly affects the outcome, the cost, and what the application is suited for.
Wood Fiber Mulch
Wood fiber mulch offers the best moisture retention and the strongest protective matrix once it dries. It holds up well against rain and wind, making it the top choice for most residential and commercial lawn projects. It’s the most expensive mulch type, but the performance justifies the cost for anything beyond a basic yard.
Blended Mulch
A blend of roughly 70% wood fiber and 30% paper mulch. It’s a practical middle ground more affordable than pure wood fiber, and significantly more effective than paper alone. This is a popular choice for homeowners who want solid results without the premium price tag.
Paper Mulch
Made mostly from recycled newspaper, paper mulch is the cheapest option. It sprays easily but dries out fast and can form a papier-mâché-like crust that blocks grass from breaking through. It’s also more vulnerable to erosion. In most cases, paper mulch is not recommended for serious lawn installation.
Bonded Fiber Matrix (BFM)
BFM mulch is an industrial-grade product used on steep slopes, riverbanks, and construction sites where erosion is a major concern. It bonds to the soil surface and essentially forms a spray-on erosion control blanket. It’s more expensive and requires larger, commercial-grade equipment.
Hydroseeding Cost: What to Expect
Hydroseeding typically costs between $0.05 and $0.26 per square foot, depending on your region, lawn size, and the type of slurry used. For a 6,000 to 10,000 square foot lawn, most homeowners pay somewhere between $1,500 and $4,000 including soil prep, materials, and labor.
Here’s a quick cost comparison across the three main lawn installation methods:
| Method | Cost Per Sq. Ft. | Notes |
| Grass Seed (DIY) | $0.02 | Cheapest, slowest, inconsistent |
| Hydroseeding | $0.05 – $0.26 | Best balance of cost and results |
| Sod | $0.30 – $0.83 | Instant lawn, highest cost |
Costs vary by region, labor rates, and terrain. Always get a local quote.
Hydroseeding vs. Sod vs. Grass Seed
This is the comparison most people care about when they start researching lawn installation.
Sod gives you an instant lawn, but it’s expensive, often 2 to 3 times the cost of hydroseeding. You also have limited control over grass varieties, and sod sometimes struggles to develop a deep root system quickly, especially in hot conditions.
Grass seed is the cheapest option but requires the most time and patience. Seeds are easily displaced by wind, birds, and rain. Results are often uneven, and it can take several months to see a full lawn.
Hydroseeding sits in the middle. It costs more than seeding but far less than sod. You get to choose your exact seed variety or blend, the roots grow naturally and deep from day one, and the mulch layer protects seeds until they germinate. For most homeowners and property developers, it’s the smartest balance of speed, cost, and long-term lawn health.
Advantages of Hydroseeding
- Seeds germinate faster most lawns start sprouting in 1 to 2 weeks
- Full control over seed variety and blends for your climate
- Covers large areas quickly and uniformly
- Mulch layer protects seeds from wind, rain, and erosion
- More affordable than sod at almost any scale
- Ideal for slopes, large properties, and erosion-prone areas
- Roots grow deeper compared to transplanted sod
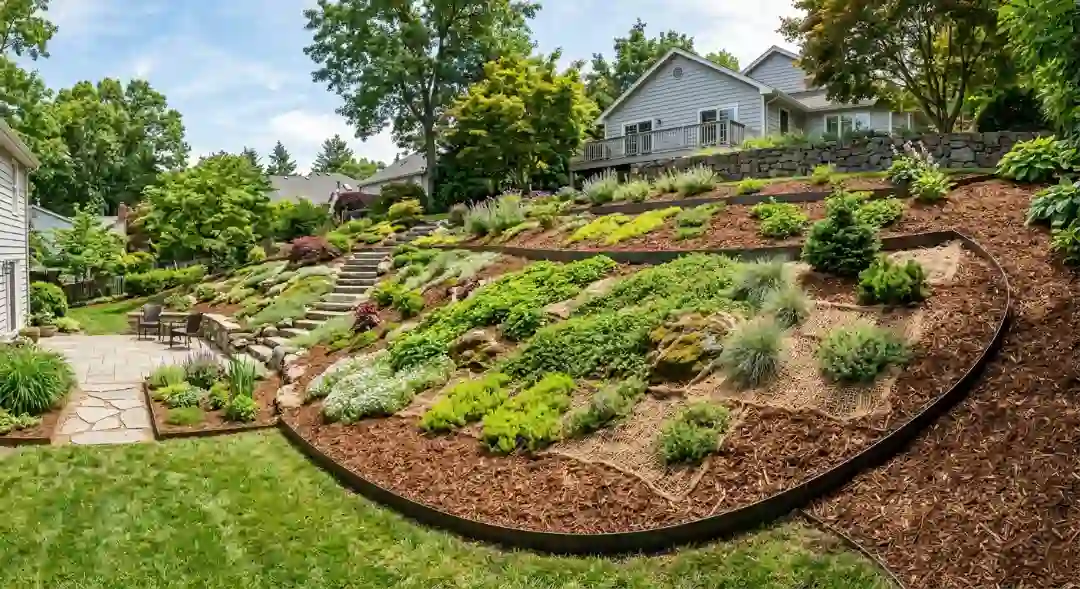
Hydroseeding for Lawns on Slopes and Problem Areas
One area both competitors miss is how well hydroseeding handles difficult terrain. If your yard has a slope, an uneven grade, or a drainage problem, hydroseeding with the right mulch type especially BFM or wood fiber with tackifier holds seeds in place where other methods would simply wash away.
Erosion control is one of the biggest real-world uses for the hydroseeding process. Road construction sites, mine reclamation projects, riverbanks, freeway medians, and golf courses all rely on it. The same principles apply to a sloped residential backyard.
How to Hydroseed Yourself
If you want to try DIY hydroseeding for a smaller area, it’s possible but it requires honest effort.
Hydroseeder rental typically costs around $300 per day for a 300 to 600-gallon unit. You’ll also need to purchase your seed, mulch, fertilizer, and any soil amendments separately. A 300-gallon jet-agitation machine works fine for small residential jobs.
The key steps for successful DIY hydroseeding:
- Test your soil pH and adjust if needed
- Measure your yard accurately (square footage)
- Prepare and de-compact your soil to 3 inches deep
- Buy the right seed blend for your climate
- Mix your slurry per the equipment instructions don’t rush this step
- Apply in even, overlapping passes
- Water consistently for 3 to 4 weeks post-application
The honest truth? DIY results are inconsistent compared to professional application. If you’re working with more than a few thousand square feet, the margin for error is wide. Small mistakes in mixing ratios or spray coverage can lead to patchy results that cost more to fix.
Considerations Before Hydroseeding
A few things worth knowing before you book a job or rent equipment:
Water access matters. Hydroseeded areas need significantly more water than established sod during the first few weeks. Make sure you have reliable irrigation or water access before starting.
Timing affects everything. Seed variety, soil temperature, and season all interact. A seed blend that thrives in Michigan winters will struggle in Southern California summers.
Soil health comes first. No hydroseeding method fixes poor, toxic, or highly compacted soil. If your soil has issues, address them before you spray a single drop.
Foot traffic kills new growth. Keep people and pets off the freshly seeded area until the grass is fully established usually 6 to 8 weeks.
Final Thoughts
Hydroseeding hits a sweet spot that most lawn installation methods miss. It’s fast enough to see results in under two weeks, affordable enough to work on large properties, and flexible enough to match almost any climate or terrain. Whether you’re restoring a bare yard after construction, dealing with an erosion problem on a slope, or just starting a lawn from scratch, it’s worth serious consideration.
If you’re in the Whittier area, Robert’s Complete Care provides professional Lawn Installation Services in Whittier from soil preparation and seed selection to full hydroseeding application and aftercare. We work with both residential and commercial properties and tailor every job to your specific soil conditions, grass type, and budget.
Getting a new lawn right the first time saves you time, money, and frustration down the road. Contact us today to get a free quote for your project.
Frequently Asked Questions
What is hydroseeding used for?
Hydroseeding is used to establish new lawns, repair damaged grass areas, control soil erosion on slopes and construction sites, and restore large areas of land after mining or road construction. It’s common in both residential landscaping and large commercial applications.
How long does hydroseeding take to grow?
Most hydroseeded lawns begin sprouting within 1 to 2 weeks. Full establishment meaning a lawn you can mow and use normally typically takes 6 to 8 weeks depending on seed type, watering consistency, and weather conditions.
Is hydroseeding better than sod?
For most homeowners, hydroseeding offers better long-term value. It’s more affordable, allows custom seed blends, and produces a deeper root system. Sod wins if you need an instant lawn and budget is not a concern.
How much water does a hydroseeded lawn need?
A newly hydroseeded lawn may need watering 2 to 3 times per day for the first 2 to 3 weeks to maintain consistent moisture at the soil surface. After germination, you can gradually reduce frequency.
Can you hydroseed over existing grass?
Generally, no. Hydroseeding works best on prepared, bare soil. Existing grass competes with new seeds and blocks proper soil contact. Existing vegetation should be removed and soil prepared before application.
How does a hydroseeder work mechanically?
A hydroseeder uses either mechanical paddle agitation or jet agitation to keep the slurry mixture uniform inside the tank. A pump then forces the mixture through a hose or boom nozzle at high pressure, spraying it evenly over the target area.
What’s the difference between hydroseeding and hydromulching?
The terms are often used interchangeably. Hydromulching typically refers to applications focused primarily on erosion control, where the mulch layer is the main goal. Hydroseeding refers more broadly to any slurry application aimed at establishing seed growth.