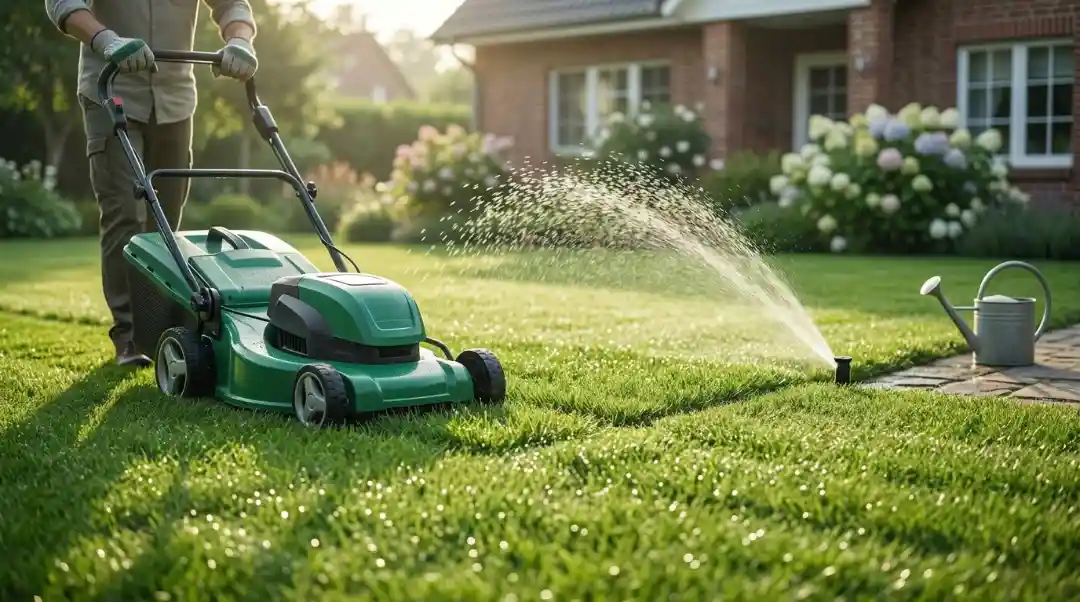
There’s nothing quite like the convenience of turning on your sprinkler and having it do all the work. You can’t beat the time savings and watered lawn with sprinkler system irrigation. Prepare for a weather change: Lawn sprinkler system rain delay setting Don’t waste water, tell your system it’s going to rain! From then on it was a battle to clear the air and return sprinkler head spray to the lawn.
Here’s how to install a lawn sprinkler system. 7 Tips for Installing Sprinkler System Choosing Parts How Rain Bird Sprinkler System Can Help With this guide, you will learn how to easily install your system.
Table of Contents
ToggleWhy Install a Lawn Sprinkler System?
While professional installation for a drip irrigation system is costly, it will be significantly less if you install a DIY drip irrigation system yourself. Here is what a respectable sprinkler system has to offer:
- Consistent watering; Uniform watering over the entire lawn
- Water efficiency;Water efficiency to prevent waste and lower your water bill
- Convenience;Convenience as system runs on timer
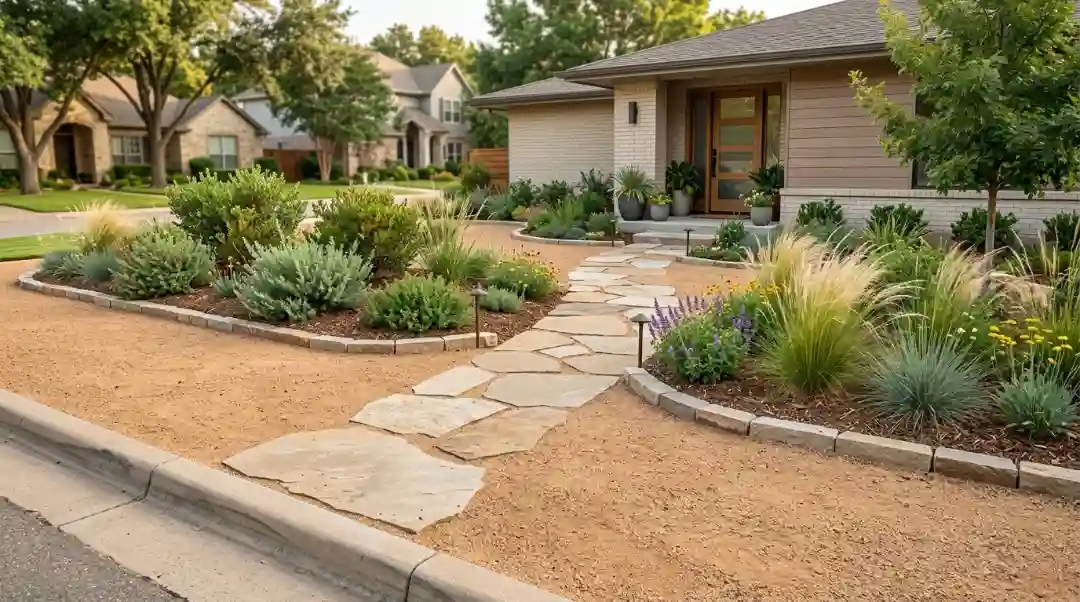
- Healthier turf; Even moisture is the best thing you can do for a healthy lawn and it’s why sprinkler design is so important!
And that is precisely why more homeowners are deciding to do the installation of sprinkler system equipment themselves – particularly now with modern, easy-to-use companies like Rain Bird with plug-and-play type products and installation kits geared for the beginner.
Step 1: Plan Your Sprinkler System Layout
Before digging, planning is everything. This step determines how effective your system will be.
Measure Your Lawn
Divide the yard into zones:
- Front yard
- Backyard
- Side areas
- Garden beds (optional)
Each zone will need an individual valve for proper water pressure.
Draw a Scaled Diagram
Create a simple map of your yard and include:
- Driveways/walkways
- Flower beds
- Trees and shrubs
- Property boundaries
Decide on Sprinkler Head Types
Rain Bird offers several options:
- Rotors: Great for large areas
- Spray heads:Best for small to medium-sized lawns.
- Drip irrigation: Good for garden beds and bushes.
Check Your Water Pressure
Use a cheap pressure gauge. Most systems need:
- 30–50 PSI for spray heads
- 45–60 PSI for rotor heads
If your pressure is too low you may need a booster pump and/or more zones.
Step 2: Gather Materials and Tools
For a standard lawn sprinkler system, you will need:
Essential Materials
- Rain bird sprinkler heads (rotors or sprays)
- Rain Bird valves
- Rain Bird automatic timer/controller
- PVC pipe or polyethylene pipe
- PVC connectors and elbows
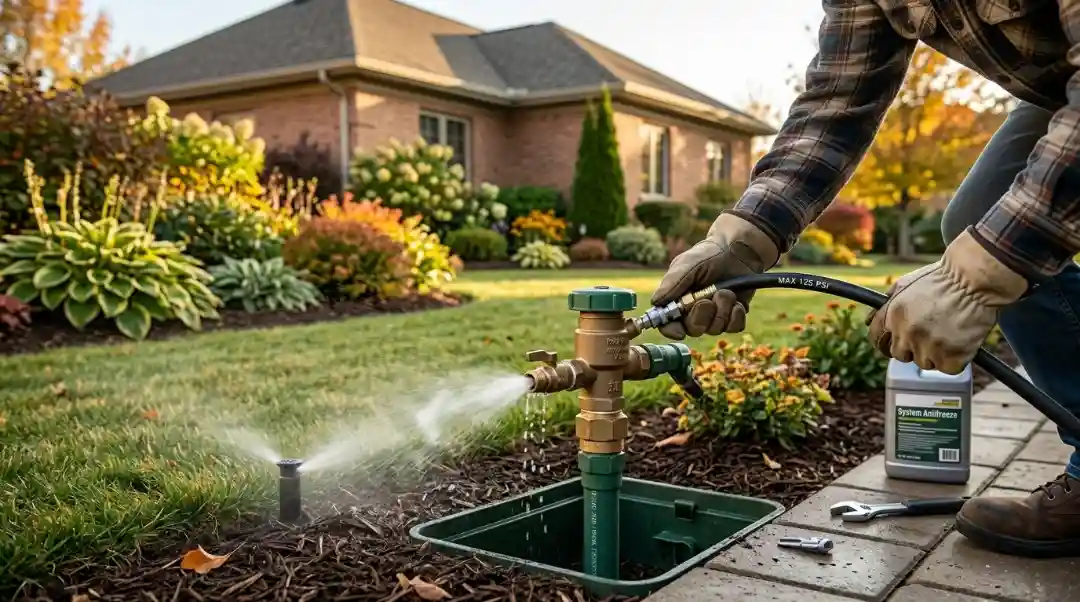
- Backflow preventer (code required in many wereas though)
- Valve box
- Pipe glue or clamps
- Wire connectors
Tools
- Shovel or trenching tool
- PVC cutter
- Measuring tape
- Screwdriver
- Pipe wrench
By purchasing one trusted brand like Rain Bird you can be certain all your pieces fit together and withstand the test of time. That’s also what makes the irrigation installation process so much easier — the parts just connect.
Step 3: Dig the Trenches
This is the physical labor part of the project.
How Deep Should You Dig?
- 8–12 inches deep for PVC pipes
- 6–8 inches deep for poly pipes
Using a trenching machine can save time if your yard is large.
Tips for Easier Digging
- Mark your sprinkler head locations with flags
- Follow your layout plan closely
- Dig straight lines to make pipe installation easier
Avoid large roots or underground utility lines. Always call your local utility marking service before digging.
You may read How Much Should Lawn Aeration Cost?
Step 4: Install the Water Supply Line
Your sprinkler system needs a steady water source.
Common Water Hookup Options
- Outdoor faucet (simple but lower pressure)
- Main water line (best for full-lawn coverage)
backflow preventer is essential to prevent the water from your lawn from backing up into your home’s plumbing.
Connecting the Water Line
- Shut off the main water supply
- Splice in a tee fitting
- Connect your control valve manifold
- Place valves inside a valve box for protection
Rain Bird valve manifolds make this part simple because they are pre-assembled or easy to snap together.
Step 5: Lay the Pipes and Connect Sprinkler Heads
This is the most important stage of sprinkler system installation.
Install the Main Line
Run pipe from your water source into each trench.
Add Zone Lines
Each zone should branch from the main line with a Rain Bird valve controlling water flow.
Attach Sprinkler Risers
Install risers where each sprinkler head will sit. Make sure the height matches your lawn level.
Install Sprinkler Heads
Connect Rain Bird sprinkler heads to the risers.
Make sure:
- Heads are level
- They face the correct watering direction
- They don’t hit sidewalks or fences
Test the Pipes Before Backfilling
Briefly turn on water and check for leaks.
Step 6: Install the Rain Bird Timer and Wiring
A timer is the “brain” of your DIY sprinkler system installation.
Installing the Controller
Mount the Rain Bird controller indoors (garage) or outdoors using a weatherproof model.
Wiring Steps
- Run low-voltage wiring from the controller to each valve
- Connect zone wires individually
- Connect common wire to all valves
- Secure wires with waterproof wire nuts
Rain Bird controllers allow you to create:
- Multiple schedules
- Rain delay settings
- Smart watering schedules
This maximizes water conservation and lawn health.
Step 7: Test the Entire System
Before burying everything, test each zone.
What to Check
- Adequate water pressure
- Even coverage
- Rotation angles
- Head height
- Leaks in pipes or joints
Adjust If necessary to ensure uniform coverage of the yard without watering onto non-lawn areas.
Step 8: Backfill Trenches and Final Adjustments
Once everything works perfectly:
- Carefully fill in the trenches
- Press soil down firmly
- Replace grass or sod pieces
- Make final adjustments to spray patterns
Your lawn sprinkler system is now completely installed and ready to be used on a regular basis.
Maintenance Tips for Long-Lasting Performance
If well installed, a sprinkler system is quite low maintenance, but a little occasional attention will help you keep it running smoothly.
- Check monthly for clogs on heads.
- Flush system before summer
- Winterize pipes in freezing regions
- Seasonal timer setting check
Rain Bird systems are built to last, and maintenance will help them continue to perform at their best for the next several years.
Final Thoughts
Installing a lawn sprinkler system is one of the best ways to improve your yard’s health, cut down on water waste, and make lawn care more convenient. Whether you’re updating an older setup or starting fresh, the process—from placing valves and pipes to connecting a Rain Bird controller—is easier when you follow the right steps. It can be a simple weekend project, and the long-term benefits are well worth the effort. Using high-quality Rain Bird parts also ensures a durable and efficient system. For expert help with Lawn Installation Services in Whittier, CA, trust Robert’s Complete Care—contact us today to get your sprinkler system installed the right way.
FAQs
1. Do I need a permit to install a lawn sprinkler system?
In many cities, a permit is required—especially if you connect to the main water line. Check your local regulations before starting the project.
2. How long does it take to install a sprinkler system?
Most DIY installations take 1–3 days, depending on yard size and how many zones you’re installing.
3. What tools are needed to install a sprinkler system?
Basic tools include a trench shovel, PVC cutter, tape measure, marking paint, and pliers. You may also need a trenching machine for larger yards.
4. Can I install a sprinkler system myself, or should I hire a professional?
You can install it yourself if you’re comfortable with digging, plumbing, and planning zones. However, professionals ensure proper water pressure, coverage, and long-term efficiency.
5. How many sprinkler heads do I need for my yard?
It depends on your lawn size and water pressure. Most zones use 4–8 sprinkler heads, spaced to ensure full, even coverage.