What Causes Brown Patches in Grass?
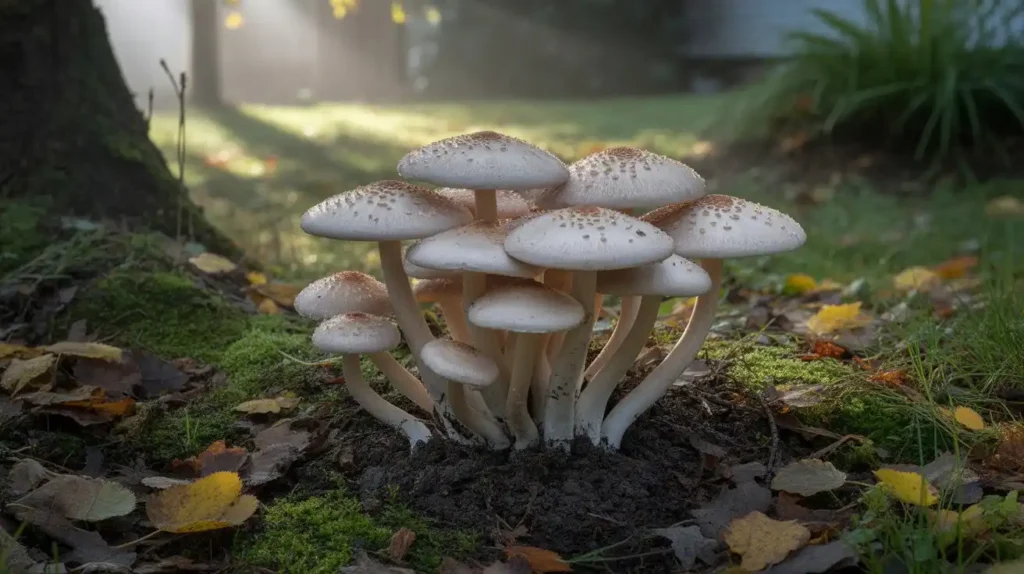
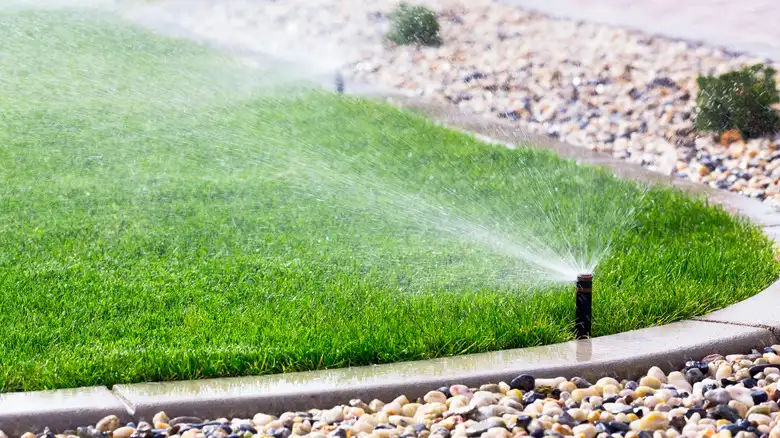
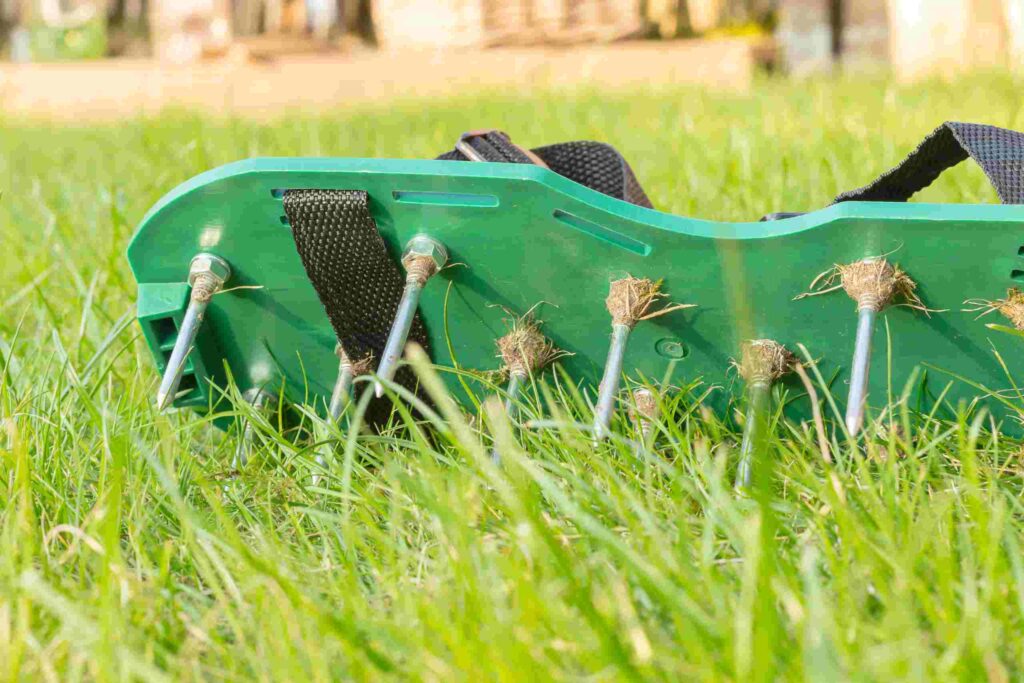
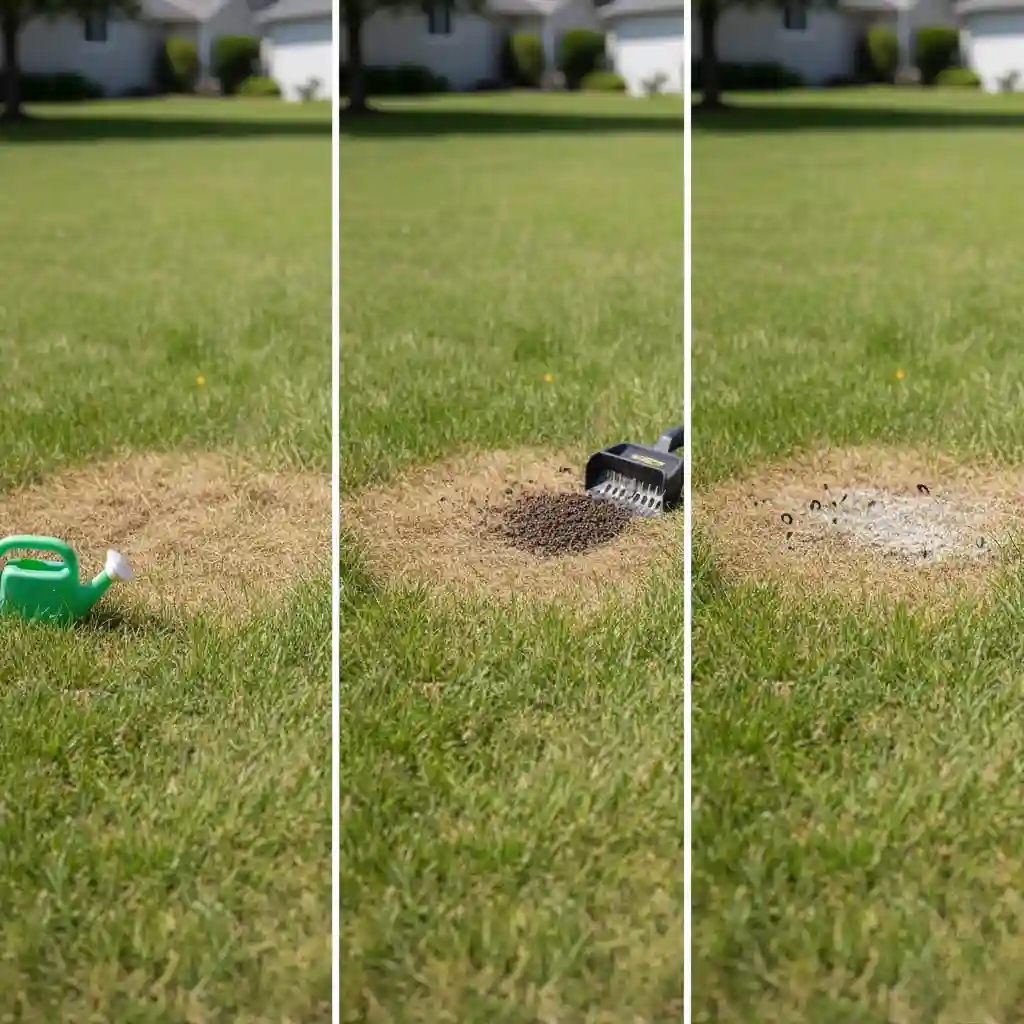
A green lawn is more than just pretty. It means that your grass is healthy, strong, and growing in the appropriate manner. A lot of homeowners worry that they did something wrong when they see brown spots. The truth is, what causes brown patches in grass can vary, and some reasons are easier to fix than you think. This detailed explanation tells you what really causes brown patches in grass, how to tell them differently, and what methods really work to heal them. The idea is simple: assist you in keeping your lawn safe while offering search engines clear, useful answers that people can trust. What Causes Brown Patches on Your Lawn and How to Get Rid of Them There are various reasons why grass can turn brown, and the first step to correcting the problem is to figure out what is causing it. Fungal infections (particularly brown patch disease), watering problems, heat stress, soil compaction, nitrogen burn from fertilizer, pet urine, insect damage, and even just normal wear and tear from foot activity are some of the most common causes. In the summer, you might discover that what makes the brown patches worse is an even worse problem. The mix of excessive heat, humidity, and stressed grass makes it easy for issues to happen. When you water your lawn too much, it might develop brown spots because the extra moisture helps lawn fungus spread. You might see brown areas in the grass, but if the green is still growing underneath, it usually implies the grass isn’t dead yet and can come back with the right care. This is not the same as brown patches in grass that are not dead. In this case, the grass has become brown, but the roots are still alive and healthy. Brown Patch Lawn Disease Description Brown patch is one of the most widespread and damaging diseases that affects lawns across America. This lawn fungus thrives in warm, humid conditions and can quickly spread across your yard if left untreated. What Is Brown Patch Fungus? The fungal pathogen Rhizoctonia solani causes brown patch fungus. This unpleasant bug attacks your grass when the weather is exactly right, which is usually when the temperature at night stays over 68°F, and the humidity is high. The fungus attacks the grass blades and can quickly spread across your lawn, leaving behind round brown areas that can be a few inches to several feet wide. The fungus doesn’t damage the grass roots right away, so if you catch it early and treat it right, your lawn can fully recover. But if your grass is sick a lot or has a lot of bad illnesses, it can get weaker over time and be more likely to have additional problems. How to Spot Brown Patch Fungus Identifying brown patch fungus early gives you the best chance of stopping it before it spreads. Here’s what to look for: Circular brown spots: The patches usually appear as circular or irregular brown areas that can grow quickly. They often have a characteristic “smoke ring” or dark outer edge in the early morning when dew is present. Size and spread: Brown circles in yards caused by this fungus typically start small (a few inches) but can expand to 2-3 feet or more in diameter. In severe cases, the patches can merge together, creating large dead areas. Grass blade appearance: The affected grass blades often look water-soaked or greasy at first, then turn tan or light brown as they die. The grass may feel slimy when you touch it during early morning hours. Timing: Brown patch is most active during hot, humid weather in summer and early fall. If you see brown lawn spots caused by fungus appearing after several days of warm, muggy weather, brown patch is likely the culprit. Pattern: Unlike damage from insects or pet urine, brown patch in turf often appear in multiple spots across your lawn rather than just one isolated area. Will Brown Grass Turn Green Again? This is the number one question homeowners ask. The answer depends on whether the grass is dormant or dead. Dormancy: Grass often turns brown to protect itself from heat or cold. This is a “sleep mode.” Once the stress (like a heatwave) passes and you provide water, it will turn green again. Death: If dead patches in lawn areas are caused by chemicals, heavy salt, or severe disease that rotted the crown of the plant, that grass is gone. You will need to re-seed or look into professional Lawn Installation Services in Whittier to start fresh. Most Common Grass Types Impacted by Brown Patch Brown patch fungus isn’t picky it can attack many different types of grass, but some varieties are more susceptible than others. Brown patch disease is especially bad for tall fescue and perennial ryegrass. These grasses don’t do well in hot, humid weather, which is when the fungus grows best. You need to be extra careful with these kinds of grass in the summer. Kentucky bluegrass can also have brown patch, but it is a little more resistant than tall fescue. Fine fescues are also quite vulnerable. Warm-season grasses aren’t safe from this either. Bermudagrass, zoysiagrass, and St. Augustine grass can all have brown patch, especially on warm, humid evenings when the temperature doesn’t drop much after sunset. Knowing what kind of grass you have might help you guess when problems might happen and stop them before the fungus spreads. How to Treat Brown Patch Fungus Once you’ve confirmed that brown patch fungus is causing your lawn problems, it’s time to take action. Here’s your complete brown patch lawn care treatment plan: Immediate Actions Stop overwatering: Fungal illness loves wetness. Stop watering right after, and only do it in the early morning so the grass blades dry quickly. Don’t water in the evening because this keeps the grass damp all night, which is great for fungi. Improve air circulation: If you have thick grass, consider dethatching to improve
What Causes Brown Patches in Grass? Read More »