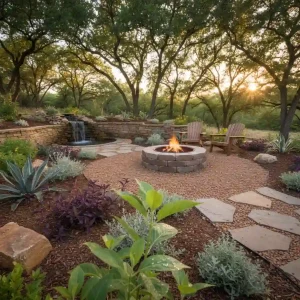
We can all agree on one thing: practically every homeowner wants a pleasant backyard with a fire pit where they...


We can all agree on one thing: practically every homeowner wants a pleasant backyard with a fire pit where they...
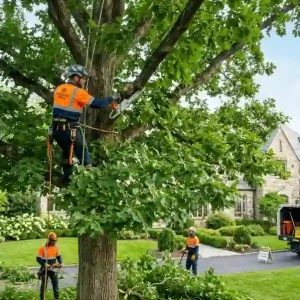
It’s not just about cutting branches or taking down a tree when you hire a tree service. It’s about keeping...
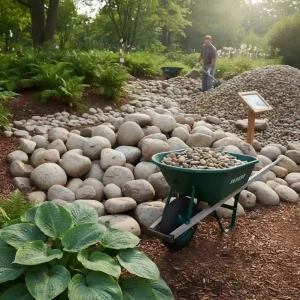
You’re not alone if you’ve ever stood in your yard wondering how much is a yard of river rock and...

That’s commercial landscaping doing its job if you’ve ever pulled into a business parking lot and thought, “Wow, this place...
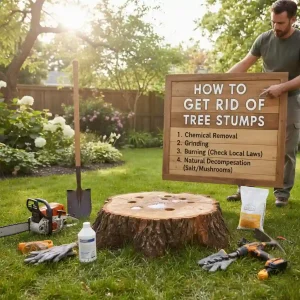
You just had a tree taken down, and now you have to look at an ugly stump in the middle...
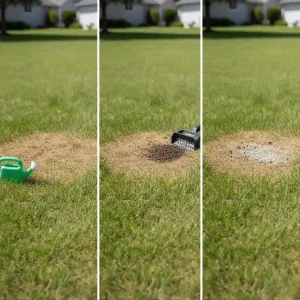
A green lawn is more than just pretty. It means that your grass is healthy, strong, and growing in the...

It’s terrible to see a favorite houseplant start to die, especially when you understand that your “kindness” (too much water)...
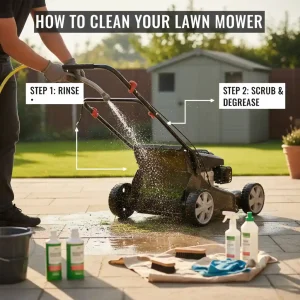
Many homeowners are proud of how their lawns resemble golf courses. You may have spent hours looking for the best...
It’s fun to make a lovely yard, but it’s also easy to mess it up. A lot of people spend...
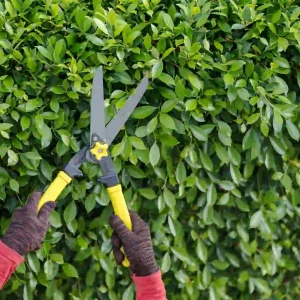
Well-trimmed bushes do more than make your yard appear nice. They make plants stronger, keep them from getting sick, and...

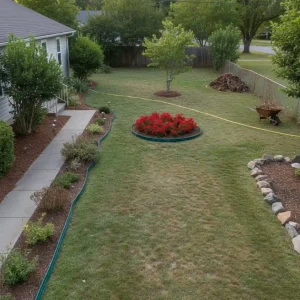
Have you ever dreamed your yard could be more than just grass and dirt? You could have imagined lovely flowers,...

Today, landscape contractors have a heavy job: they have to make quick, accurate estimates while also keeping track of workers,...
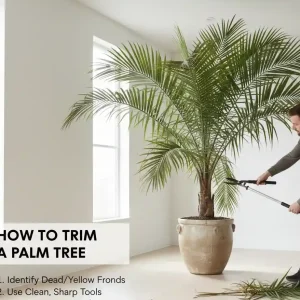
Because they provide that desired tropical feel, palm trees are the crown jewels of any landscape. However, as every homeowner...
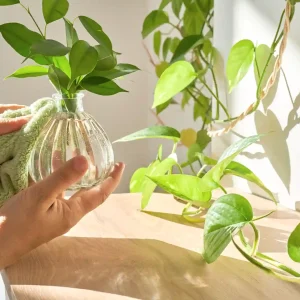
One of the easiest and most gratifying houseplants to grow is pothos. Pothos is a great plant for beginners or...
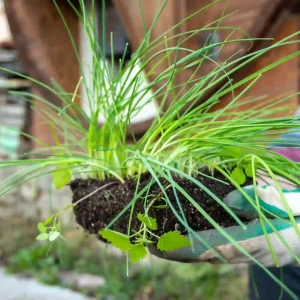
Adding ornamental grasses to any landscape is one of the easiest ways to make it seem better all year long....

 Optimized by Seraphinite Accelerator