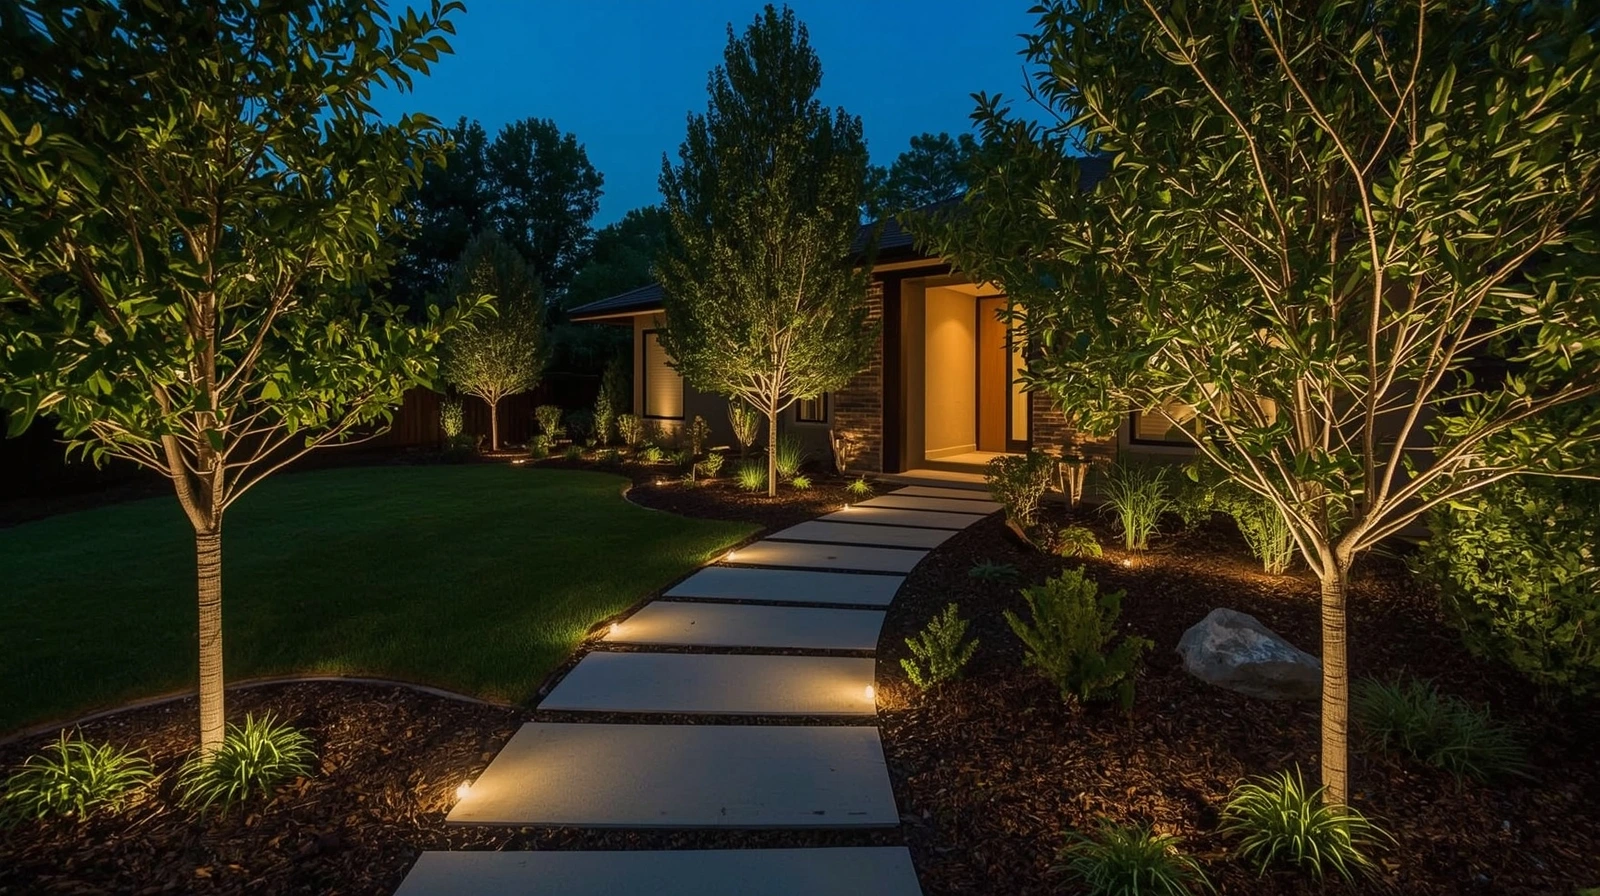
There’s something deeply satisfying about stepping back at dusk and seeing your yard come alive with soft warm glows. I’ve done dozens of landscape lighting projects over the years both as a professional and DIYer and I can tell you that low voltage outdoor lighting isn’t just about beauty it’s about safety, curb appeal and smart home function.
If you are wondering exactly how to install low voltage landscape lighting this guide will discuss the entire process from planning your layout to wiring everything properly using a low voltage landscape lighting wiring diagram.
Why Choose Low Voltage Outdoor Lighting?
Before jumping into tools and wire connectors let’s talk about why you’re making this choice. Low voltage lighting installation uses a transformer to reduce the standard 120V current down to a safer 12V, making it perfect for homes with kids, pets or heavy foot traffic.
Unlike high voltage systems installing low voltage outdoor lighting is safer more energy efficient and doesn’t require professional electrical licensing in most states with smart low voltage lighting system options and dusk to dawn landscape lighting setup you can automate your yard lighting completely.
Planning Your Landscape Lighting Layout

Trust me the biggest mistakes I’ve seen happen before a single fixture is installed. Spend time upfront to plan your landscape lighting layout thoughtfully.
Walk your yard at night with a flashlight. Highlight areas like walkways, trees, water features and architectural elements. Then sketch a rough design.
Think in terms of three light types:
Path lighting using LED low voltage path lights
Accent lighting for trees, shrubs, or statues
Ambient lighting around patios or fences
A good rule is to start small. You can always add more lights later using splitters or extending wires with cable connectors for landscape lighting.
What You’ll Need: Tools & Materials
Here’s what’s usually in my toolkit for a landscape lighting installation:
Fixtures (path lights, spotlights)
Transformer for landscape lights
12-gauge direct burial wire for landscape lighting
Low voltage cables (check landscape lighting wire gauge)
Cable connectors for landscape lighting
Wire stripper/cutter
Multimeter (for checking outdoor lighting voltage drop)
Don’t forget your outdoor low voltage transformers should be rated for at least 20% more wattage than your total lighting load. Which brings us to…
Understanding Wattage and Wire Runs
Knowing the wattage requirements for low voltage lighting is key. Add up the wattage of all your fixtures. For example, ten 5W lights = 50W. If your transformer is 75W, you’re in the safe zone.
When it comes to wiring the longer your wire run the more voltage drop you’ll get. Use a heavier landscape lighting wire gauge (like 12 AWG) for longer distances to keep your lights evenly bright.
Wiring and Connection Tips
If you’re asking yourself how to wire landscape lighting you’re not alone this is where most people hesitate. But wiring is easier than it looks.
Use a low voltage landscape lighting wiring diagram (you can find free ones online or in product manuals). Start from the transformer and run the wire along your planned route. Use wiring for low voltage landscape lighting rated for outdoor use.
Wiring low voltage lights means creating parallel circuits daisy-chaining the lights together while keeping consistent polarity. That’s critical.
When using cable connectors for landscape lighting make sure they are waterproof and designed for direct burial.
Installing the Lights: Step-by-Step
Now we’re into the fun part installing landscape lighting.
Place your fixtures where you want them.
Run the wires loosely from the transformer to each light.
Strip the wire ends and use connectors to join them to each fixture.
Mount your transformer for landscape lights on a wall near a GFCI outlet.
Connect the wires to the transformer, observing polarity (+ to +, – to -).
Test the system before burying anything.
Install outdoor lighting by burying wires at least 6 inches deep (especially direct burial wire for landscape lighting).
I always recommend keeping a printed landscape lighting wiring diagram in your garage it’ll save you headaches if you troubleshoot later.
Testing, Troubleshooting, and Adjustments
Once everything’s connected flip the switch. If some lights are dim or flickering you may have a voltage drop issue. Use a multimeter to measure voltage at the farthest fixture. You can split your run into two shorter branches if needed.
This is why how to connect low voltage lights properly using sealed watertight connectors is crucial.
Bonus: Automate with Smart Lighting
Want to take it a step further? Add dusk to dawn landscape lighting setup using timers, photocells, or smart home integration. A smart low voltage lighting system lets you control your entire yard from your phone.
Final Tips & Safety Reminders
Always follow outdoor lighting safety tips. Avoid overloading your transformer, keep connections dry, and regularly inspect buried wires.
Installing low voltage landscape lighting may feel overwhelming at first, but once you’ve done it, it becomes second nature. Whether you’re doing a diy low voltage landscape lighting project or simply adding new fixtures to an existing system, it’s one of the most satisfying upgrades you can do to your home.
Bring Your Outdoor Space to Life
Let our experts handle your landscape lighting installation with precision and care.

