What is the Difference Between Hardscape and Landscape?
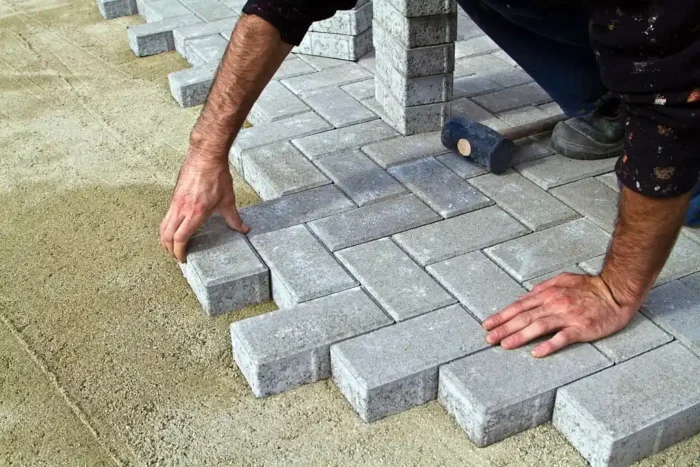
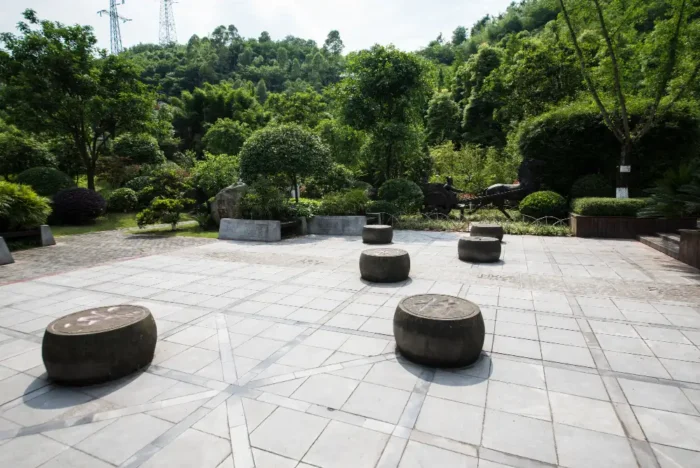
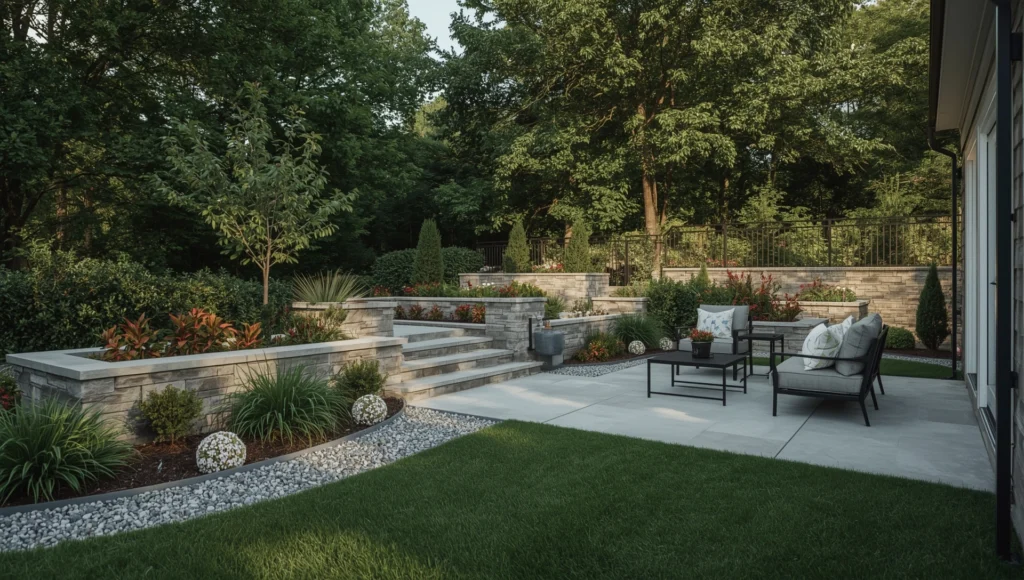
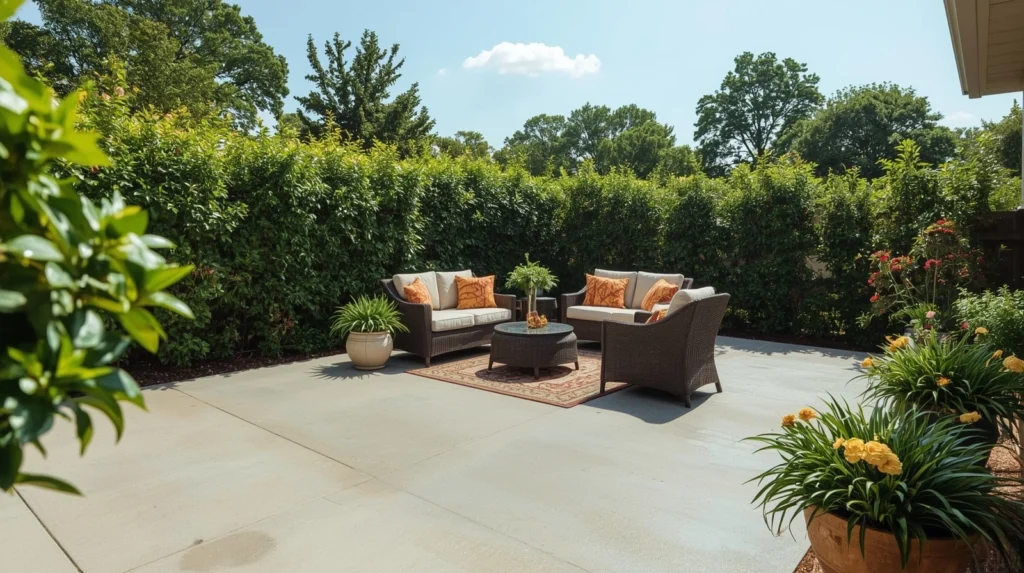
There are two basic sections to your yard. One is made. One is grown. You can plan and spend better if you know how they function together. Hardscape is made up of substantial things like walls, patios, and paths. Plants, grass, soil, and trees are all part of the landscape, which is sometimes called softscape. Both are important. They make a space that looks good and works well when they are balanced. What is the Difference Between Hardscape and Landscape is simple at its core. Hardscape is a permanent part of the structure. The terrain is alive and always changing. Most great outdoor areas use both of these things in the correct amounts. How to Tell the Difference Between Hardscape and Landscape A lot of homeowners mix these words up. That makes for bad planning and wasted money. It’s not about picking one over the other when it comes to hardscape and landscape. It’s about recognizing what each one is best at. Hardscape affects how you use and move around in the area. The landscape changes how the area feels and grows over time. You need to know both from the start if you want a yard that lasts and is easy to take care of. What Is Hardscape? Hardscape is everything in your yard that is solid and not alive. This comprises steps, patios, walks, roads, retaining walls, fire pits, and sitting walls. These traits don’t change or grow with the seasons. They stay in place for years after they are put in. The hardscape definition is simple. It includes anything made of stone, concrete, brick, or wood that gives shape. Hardscape in landscaping design affects how people move, how water drains, and how things work. A patio is a place to sit. A wall keeps dirt in place. A path shows people where to walk. A yard can feel cluttered or hard to use without a hardscape. What Is Softscape? Landscape includes everything that lives in your yard. The plants and soft surfaces in your outdoor space make it look alive and beautiful. Important parts of the landscape are: Turf and lawns Bushes and trees Flower beds Ornamental grasses and ground coverings Vegetable patches and gardens Landscaping not only makes things look better, but it also helps the environment by improving air quality, supporting local species, and keeping the temperature stable. A well-kept landscaping gives hardscape features texture, colour, and a natural look. How to Use Hardscape and landscape to Make Your Yard Look Great The best yards have a mix of hardscape and landscape to make them seem good. For instance: A stone path (hardscape) with flowers and shrubs (landscape) on either side makes a welcome entrance. A patio in the rear (hardscape) with trees and a lawn (landscape) around it is a great place to relax. Adding flowering plants (landscape) to retaining walls (hardscape) makes them both useful and pretty. You make things work together by thinking about both parts. Hardscape gives things shape and strength, whereas landscape makes things softer and more alive. What is the difference between permeable and non-permeable pavers Not all hardscape works the same way. Water can get through the gaps in permeable pavers. This helps keep the soil healthy and cuts down on runoff. They are great for patios and walks. Pavers that don’t let water through block it. This group includes concrete slabs and sealed stone. They are sturdy, but if the drainage isn’t good, they might cause pools. Choosing the proper kind has an impact on long-term care and water management. In dry places, permeable solutions are frequently better. Hardscape vs Landscape Explained This is a clear method to see the difference. Hardscape is made. Plants grow throughout the landscape. The hardscape stays the same. Changes in the landscape. Hardscape costs more up front, but it lasts longer. Initially, landscaping costs less, but it needs regular attention. Both change how your yard appears and works. If you don’t pay attention to one, you’ll have difficulties later. This is why understanding What Is the Difference Between Hardscape and Landscape matters before any project starts. Understanding the Key Differences Let’s make it simpler. Stone, brick, and concrete are all examples of hardscape materials. Soil, plants, and mulch are all types of landscape materials. Hardscape doesn’t need as much water. Landscape has to be watered on a regular basis. Hardscape doesn’t need as much care. The landscape has to be trimmed, fed, and cared for. Hardscape makes things work. Landscape makes everything more comfortable and beautiful. Important things to think about when hardscaping Think about the long term before putting in hardscape. Look at the drainage. If water doesn’t flow well, it might crack concrete and move pavers. Think about the heat. In the summer, stone and concrete get hot. Shade trees or pergolas can help. Plan how to get there. Paths should not seem awkward; they should feel natural. Pick materials that go with your home. This makes the room look neat and planned. Expert Hardscaping in Whittier, for example, focuses on function and climate demands for local projects. Important things to think about when it comes to landscapes Plants are more than just pretty things. Pick plants that will grow well in your area. This saves water and time spent on care. Think about how to grow. Small plants today could get in the way of walkways later. Combine different heights and textures. This gives it more dimension without making it look messy. Soil that is healthy is more important than showy plants. Everything grows better in good soil. A lot of the time, people don’t think of this planning stage when they question what landscaping is. Adding hardscaping to your landscape design Hardscape should help shape the design, not take over. Put patios where they can get shade, and plants around the edges to soften the lines. Use walls to make raised beds, which is a mix of hardscape and softscape. Paths should connect important areas, not
What is the Difference Between Hardscape and Landscape? Read More »